The Kenmore 385 sewing machine manual is a comprehensive guide designed to help users understand and operate their machine effectively. It covers setup‚ threading‚ stitching‚ and troubleshooting‚ ensuring optimal performance and longevity of the device. The manual is available for download from Sears Parts Direct and other trusted sources‚ providing detailed instructions and diagrams for all models‚ including specialized variants like 385.16231 and 385.12612090. Whether you’re a beginner or an experienced sewer‚ this manual is an essential resource for mastering your Kenmore 385 sewing machine.
1.1 Overview of the Kenmore 385 Sewing Machine
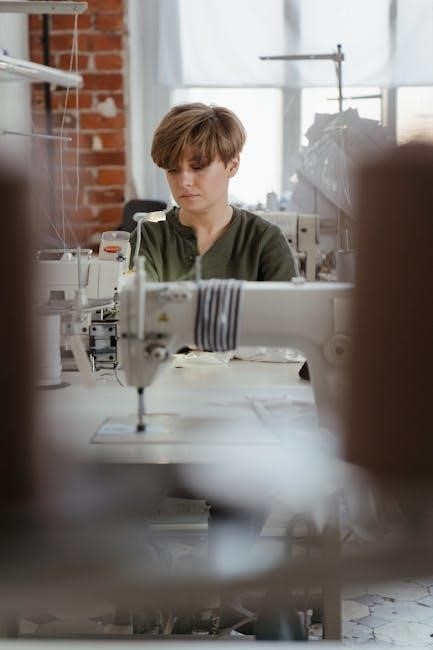
The Kenmore 385 sewing machine is a versatile‚ mechanical sewing machine designed for various sewing tasks. Known for its durability and ease of use‚ it is suitable for sewing different fabrics and performing basic to advanced stitching. Popular among sewers of all skill levels‚ the Kenmore 385 offers a range of stitch options and is compatible with multiple accessories‚ making it a reliable choice for both home and hobbyist use.
1.2 Importance of the Manual for Optimal Use
The Kenmore 385 sewing machine manual is crucial for understanding its features‚ troubleshooting common issues‚ and performing maintenance. It provides step-by-step guides for threading‚ stitch selection‚ and bobbin setup‚ ensuring proper machine operation. By following the manual‚ users can optimize performance‚ prevent damage‚ and enhance sewing results. It also includes safety tips and warranty details‚ making it an indispensable resource for both beginners and experienced sewers.
Where to Find and Download the Kenmore 385 Manual
The Kenmore 385 manual can be downloaded from Sears Parts Direct and other trusted sources. Visit the official website‚ enter your model number‚ and follow the download instructions to access the PDF manual instantly.
2.1 Official Sears Parts Direct Website
The official Sears Parts Direct website is the primary source for downloading the Kenmore 385 sewing machine manual. Users can easily search by model number‚ such as 385.10 or 385.16231‚ and download the PDF manual instantly. The website offers free access to comprehensive guides‚ ensuring you have all the necessary instructions for setup‚ operation‚ and troubleshooting. This reliable platform is the best place to find accurate and detailed information for your Kenmore 385 model.
2.2 Other Reliable Sources for Download
Besides the official Sears Parts Direct website‚ other reliable sources offer the Kenmore 385 sewing machine manual. Websites like ManualsLib‚ ManualsOnline‚ and Scribd provide free or paid downloads. Additionally‚ forums and sewing communities often share manuals for various Kenmore models. Ensure to verify the source’s reliability to avoid incorrect or incomplete information; These platforms are convenient for users seeking alternative download options.
Understanding the Kenmore 385 Model Numbers
The Kenmore 385 model numbers‚ such as 385.10 or 385.16231‚ indicate specific features or versions‚ helping users identify the correct manual for their sewing machine.
3.1 Common Model Variants (e.g.‚ 385.10‚ 385.11‚ 385.12‚ 385.14)
Common Kenmore 385 variants like 385.10‚ 385.11‚ 385.12‚ and 385.14 offer slight differences in features or stitching options. These model numbers help users identify the correct manual for their specific machine‚ ensuring accurate instructions and optimal performance. Each variant may have unique settings or accessories‚ making it essential to refer to the corresponding manual for detailed guidance.
3.2 Specialized Models (e.g.‚ 385.16231‚ 385.12612090)
Specialized Kenmore 385 models‚ such as 385.16231 and 385.12612090‚ offer advanced features and capabilities tailored for specific sewing tasks. These models often include unique accessories or stitching options‚ requiring detailed instructions found in their respective manuals. The manual provides tailored guidance for these variants‚ ensuring users can fully utilize their machine’s specialized functions and maintain optimal performance.
Setting Up Your Kenmore 385 Sewing Machine
Setting up your Kenmore 385 sewing machine involves unpacking‚ initial inspection‚ and basic assembly. The manual provides step-by-step guidance to ensure proper setup for optimal performance.
4.1 Unpacking and Initial Inspection
When unpacking your Kenmore 385 sewing machine‚ carefully remove all components from the box and ensure all accessories are included. Inspect the machine for any visible damage or scratches. Check for the power cord‚ presser feet‚ and additional attachments. Refer to the manual for a detailed list of included parts and steps to verify everything is in working condition before use.
4.2 Basic Machine Assembly and Alignment
After unpacking‚ assemble the Kenmore 385 by attaching the sewing machine base and aligning the parts as shown in the manual. Ensure all components‚ like the presser foot and bobbin case‚ are securely fitted. Proper alignment is crucial for smooth operation. Follow the manual’s step-by-step guide to avoid misalignment‚ which could affect stitching quality. Double-check the setup before first use.
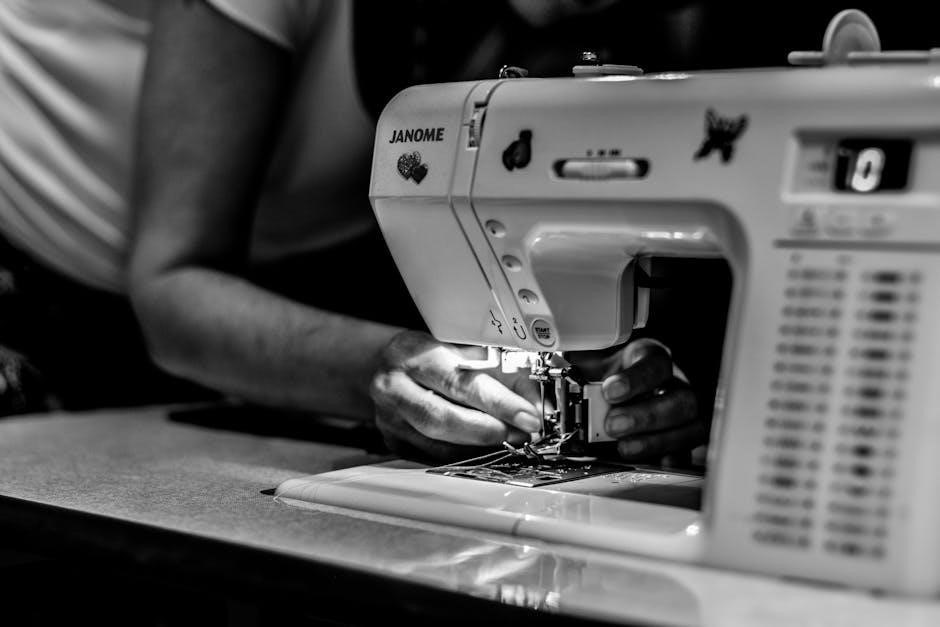
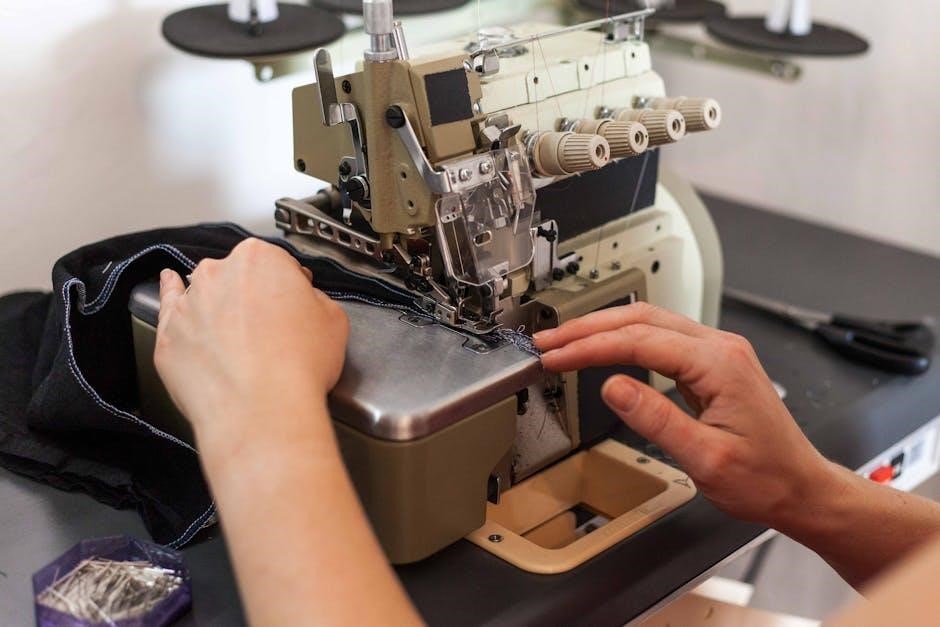
Threading and Bobbin Setup
Proper threading and bobbin setup are essential for smooth sewing. Follow the manual’s step-by-step guide to thread the machine correctly and wind the bobbin evenly.
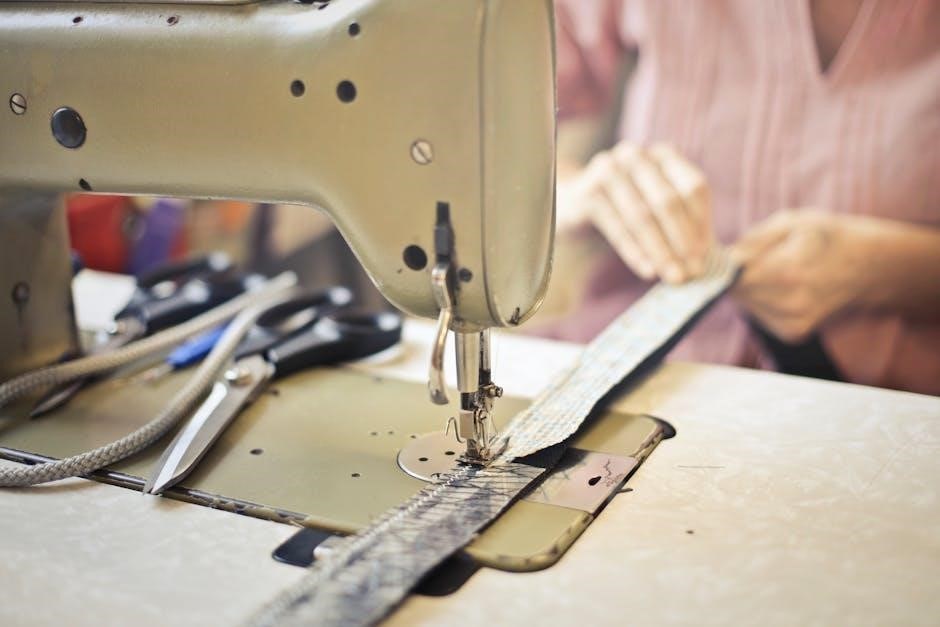
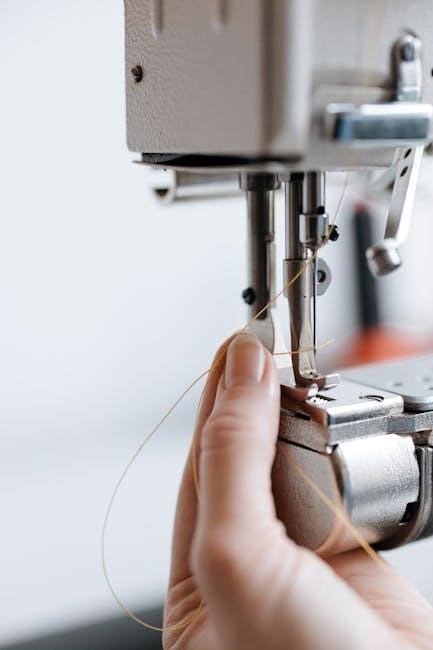
5.1 Step-by-Step Guide to Threading the Machine
Start by placing the spool on the spool pin and guide the thread through the tension discs. Lead the thread through the take-up lever‚ ensuring it moves freely. Pass the thread through the needle’s eye from front to back. Gently pull the thread to remove any slack but avoid pulling too tightly; Leave a small tail at the end for sewing. Proper threading ensures smooth stitching and prevents thread breakage. Follow the manual’s visual guide for precise alignment and tension adjustment. After threading‚ wind the bobbin correctly to complete the setup.
5.2 Proper Bobbin Winding Techniques
Insert the bobbin into the bobbin winder and secure it. Place the thread on the spool pin‚ then draw it through the bobbin winder’s guide. Wind the thread evenly‚ ensuring consistent tension. Avoid overfilling the bobbin‚ as this can cause uneven stitching. Once wound‚ cut the thread and remove the bobbin. Properly wound bobbins ensure smooth stitching and prevent thread breakage during sewing. Always use compatible bobbins for your Kenmore 385 model.
Basic Sewing Functions and Stitches
The Kenmore 385 offers essential stitches‚ including straight and zigzag‚ ideal for general sewing and repairs‚ catering to both beginners and experienced sewists alike.
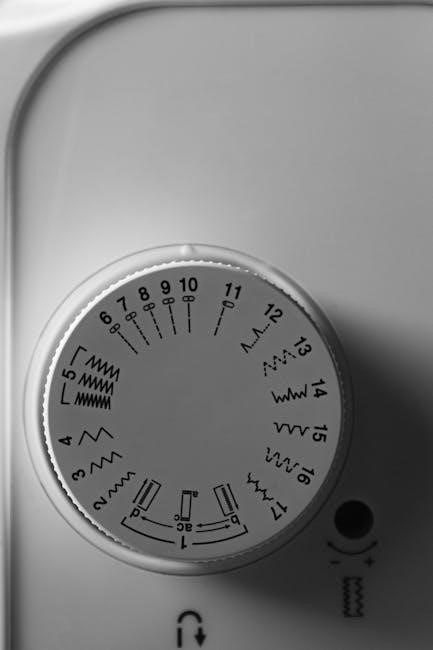
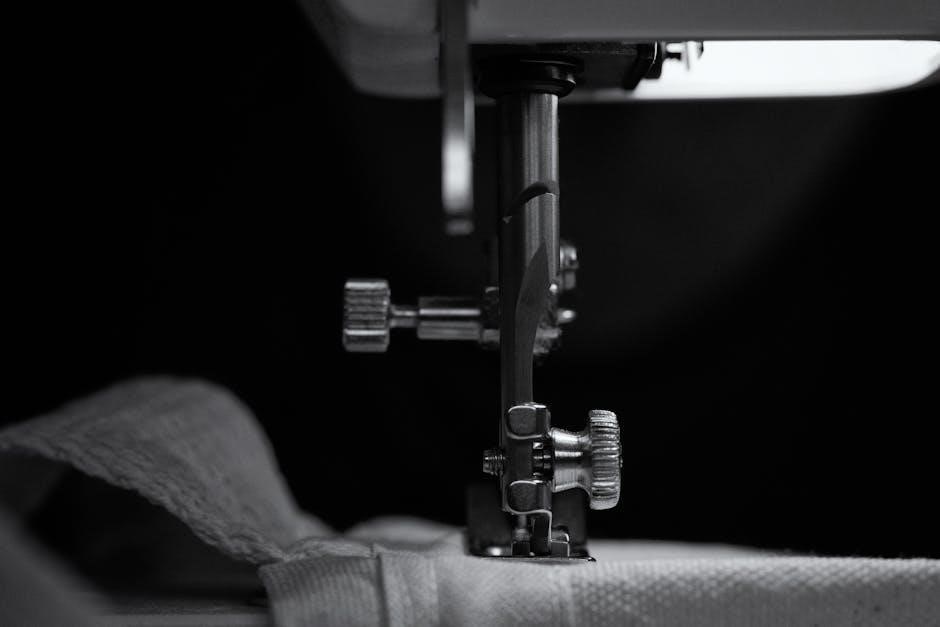
6.1 Straight Stitch and Zigzag Stitch Operations
The Kenmore 385 features a straight stitch for basic sewing and a zigzag stitch for decorative edges or stretchy fabrics. To switch between stitches‚ use the stitch selector dial. The straight stitch is ideal for straight-line sewing‚ while the zigzag stitch adds versatility for various fabric types. Always test stitches on scrap fabric to ensure proper tension and alignment before starting your project.
6.2 Adjusting Tension and Stitch Length
Adjusting tension and stitch length on the Kenmore 385 ensures even stitching and prevents fabric puckering. Use the tension discs to regulate thread tightness‚ ensuring balanced tension for straight and zigzag stitches. The stitch length dial allows customization‚ with shorter lengths for delicate fabrics and longer lengths for heavier materials. Always test adjustments on scrap fabric to achieve the desired stitch quality and fabric handling.
Troubleshooting Common Issues
The Kenmore 385 manual addresses common issues like thread breakage and machine malfunction. Check power connections‚ rethread properly‚ and adjust tension settings to resolve most problems efficiently.
7.1 Machine Not Turning On or Operating
If your Kenmore 385 sewing machine won’t turn on‚ first check the power cord connection and ensure it’s properly plugged into a working outlet. Verify that the power switch is functioning correctly. If issues persist‚ consult the manual for troubleshooting steps or contact Sears customer support for assistance. Always ensure the machine is on a stable‚ even surface before use.
7.2 Thread Breakage and Tension Problems
Thread breakage and tension issues are common problems with the Kenmore 385 sewing machine. Check if the thread is properly threaded through the machine and bobbin. Ensure the tension dials are adjusted correctly‚ as outlined in the manual. If thread breaks frequently‚ inspect for debris or misalignment in the tension discs. Proper threading and tension adjustment can prevent these issues and ensure smooth stitching.
Maintenance and Cleaning Tips
Regular cleaning and lubrication are essential for the Kenmore 385 sewing machine. Remove lint‚ dust‚ and old oil to prevent mechanical issues. Ensure smooth operation.
8.1 Regular Cleaning of the Machine
Regular cleaning is crucial for maintaining the Kenmore 385 sewing machine. Use a soft brush to remove lint and debris from the bobbin area‚ tension discs‚ and stitch plate; Gently vacuum or blow out dust using compressed air‚ especially around moving parts. Avoid harsh chemicals; instead‚ wipe with a dry cloth. Regular maintenance prevents mechanical issues and extends the machine’s lifespan.
8.2 Lubrication and Oil Replacement
Regular lubrication is essential for the smooth operation of the Kenmore 385 sewing machine. Apply a few drops of high-quality sewing machine oil to the hook race and shuttle mechanisms every 50 hours of use. Avoid over-lubricating‚ as excess oil can attract dust and dirt. Use a clean‚ dry cloth to wipe away any excess oil and ensure all moving parts are properly coated for optimal performance.
Accessories and Compatible Parts
Accessories like presser feet‚ zipper‚ and blind hem feet enhance your sewing experience. Use compatible needles and bobbins for optimal performance. Consult the manual for specific part recommendations.
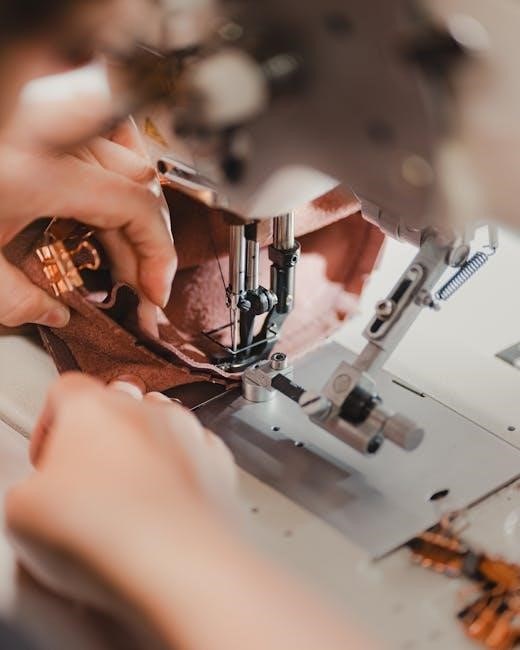
9.1 Recommended Presser Feet and Attachments
The Kenmore 385 manual highlights essential presser feet like zipper‚ blind hem‚ and buttonhole feet for specialized tasks. Additional attachments‚ such as heavy-duty and walking feet‚ are ideal for thick fabrics. These accessories ensure versatility and precision in various sewing projects‚ optimizing your machine’s capabilities for different materials and stitching needs.
9.2 Compatible Needles and Thread Types
The Kenmore 385 manual recommends using universal‚ sharp‚ or heavy-duty needles depending on fabric type. For threads‚ 100% cotton or polyester is ideal for general sewing‚ while metallic or stretch threads suit specialized projects. Always match needle size and thread weight to fabric thickness for optimal stitching performance and to prevent damage to the machine or material.
Advanced Sewing Techniques
Explore advanced sewing techniques with the Kenmore 385‚ including sewing buttons‚ heavy fabrics‚ zippers‚ and pockets. The manual guides you through complex projects with precision and ease.
10.1 Sewing Buttons and Heavy Fabrics
The Kenmore 385 manual provides detailed guidance for sewing buttons and working with heavy fabrics. It outlines the use of specialized presser feet and stitches‚ ensuring secure and professional results. Techniques include reinforcing seams and adjusting tension for thicker materials‚ making it easier to handle challenging projects with confidence and precision. Follow the manual’s step-by-step instructions for optimal outcomes.
10.2 Sewing Zippers and Pockets
The Kenmore 385 manual offers expert techniques for sewing zippers and pockets seamlessly. Use the zipper foot for precise alignment and professional results. Reinforce pocket seams with interfacing or stabilizers for durability. Backstitch at the start and end of zippers for security. Adjust stitch length and tension as needed for smooth‚ even stitching on various fabrics. Follow the manual’s step-by-step guide to achieve flawless zippers and pockets every time‚ ensuring a polished finish to your projects.
Safety Precautions
Always prioritize safety when using the Kenmore 385 sewing machine. Keep loose clothing and long hair tied back‚ avoid distractions‚ and ensure children stay away. Use the correct presser feet and keep fingers clear of the needle. Unplug the machine during maintenance or when not in use to prevent accidents.
11.1 General Safety Guidelines
Always maintain a clean and well-lit workspace to minimize accidents. Use the correct presser feet and accessories for your projects. Avoid wearing loose clothing or jewelry that could get caught in the machine. Keep children and pets away while sewing. Never touch the needle or sharp parts with your fingers; Unplug the machine during maintenance or when not in use. Follow the manual’s instructions carefully to ensure safe operation.
11.2 Avoiding Common Mistakes
Ensure proper threading to prevent thread breakage and tension issues. Use the correct presser feet for your fabric type to avoid uneven stitching. Always lower the presser foot before sewing to maintain fabric control. Regularly clean the machine to prevent dust buildup and mechanical issues. Avoid using dull or incorrect needles‚ as they can damage fabric or cause poor stitch quality. Keep the workspace organized to reduce errors and improve efficiency.
Warranty and Customer Support
The Kenmore 385 sewing machine comes with a warranty covering parts and labor. Contact Sears customer service for assistance‚ repairs‚ or to download manuals and diagrams.
12.1 Understanding the Warranty Coverage
The Kenmore 385 sewing machine warranty typically covers manufacturing defects in materials and workmanship for a specified period‚ usually one year. It includes repairs or replacements of defective parts. However‚ normal wear and tear‚ misuse‚ or unauthorized repairs may void the warranty. For detailed terms‚ refer to the warranty section in the manual or contact Sears customer support directly.
12.2 Contacting Sears Customer Service
To contact Sears customer service for assistance with your Kenmore 385 sewing machine‚ visit their official website or call their support hotline. Live chat and email options are also available for convenience. Representatives are ready to address inquiries‚ provide troubleshooting guidance‚ and assist with warranty claims or repair requests‚ ensuring a smooth experience for all users.
The Kenmore 385 sewing machine manual provides essential guidance for optimal use‚ troubleshooting‚ and maintenance. It empowers users to maximize their machine’s potential and explore advanced sewing techniques with confidence.
13.1 Summary of Key Takeaways
The Kenmore 385 sewing machine manual offers a wealth of information to enhance your sewing experience. From setup and threading to advanced techniques‚ it provides clear instructions. Troubleshooting tips and maintenance advice ensure longevity. Understanding model-specific features and accessing reliable sources for downloads are also covered. This guide empowers users to master their machine‚ explore creative possibilities‚ and resolve common issues efficiently. It’s a must-have resource for both beginners and experienced sewists.
13.2 Encouragement for Further Exploration
Now that you’ve explored the Kenmore 385 sewing machine manual‚ it’s time to take your skills to the next level. Experiment with advanced stitches‚ creative projects‚ and explore the full potential of your machine. Whether crafting home decor or custom clothing‚ this manual serves as your guide to unlocking new possibilities. Keep sewing‚ learning‚ and creating—your Kenmore 385 is a versatile tool for endless creativity and precision.