The Honeywell TH4210U2002 programmable thermostat offers ease of installation and advanced features for optimal temperature control. Designed for compatibility with various HVAC systems, it ensures energy-efficient performance and precise comfort management.
Product Overview
The Honeywell TH4210U2002 is a programmable thermostat designed for easy installation and compatibility with various HVAC systems. It features on-screen menus for straightforward setup and energy-efficient performance, ensuring precise comfort management.
2.1. Key Features of the Honeywell TH4210U2002 Thermostat
The Honeywell TH4210U2002 thermostat offers a range of advanced features, including programmable scheduling, universal compatibility, and energy-saving settings. It has a user-friendly interface with on-screen menus for easy setup and navigation. The thermostat supports both heating and cooling systems, ensuring versatile application. Key features include a backlit display, five-day programming options, and a universal mounting system for easy installation. It also includes a battery-powered option, eliminating the need for a common wire. Additionally, the thermostat supports advanced configurations through the Installer Setup Menu, allowing for customized system settings. These features make it an ideal choice for homeowners seeking precise temperature control and energy efficiency.
2.2. Compatibility with Heating and Cooling Systems
The Honeywell TH4210U2002 thermostat is designed to work seamlessly with a variety of heating and cooling systems, ensuring broad compatibility. It supports both single-stage and multi-stage systems, as well as heat pumps. The thermostat is compatible with gas, oil, and electric furnaces, making it suitable for different types of HVAC setups. It also works with central air conditioning systems, providing precise temperature control during both heating and cooling modes. Additionally, the thermostat supports dual fuel systems, allowing it to switch between gas and electric heat sources for optimal energy usage. This versatility ensures that the TH4210U2002 can be installed in a wide range of residential environments, adapting to various system requirements with ease. Its universal design makes it a reliable choice for different heating and cooling configurations.
System Requirements
Ensure the power switch for the heating and cooling system is on. Verify the furnace door is securely closed and install fresh AA alkaline batteries correctly for proper operation.
3.1. Compatibility Check for HVAC Systems
Before installing the Honeywell TH4210U2002 thermostat, ensure compatibility with your HVAC system. Verify that your system supports programmable thermostats and check for any specific wiring requirements. The thermostat is designed to work with most heating and cooling systems, including forced air, heat pumps, and radiant systems. It is essential to confirm that the system’s voltage and wiring configuration match the thermostat’s specifications to avoid installation issues. Additionally, ensure that the HVAC system is properly powered off at the breaker before starting the installation process. Compatibility checks help prevent potential malfunctions and ensure seamless integration with your existing setup. Proper system compatibility is crucial for optimal performance and energy efficiency.
3.2. Necessary Tools and Materials for Installation
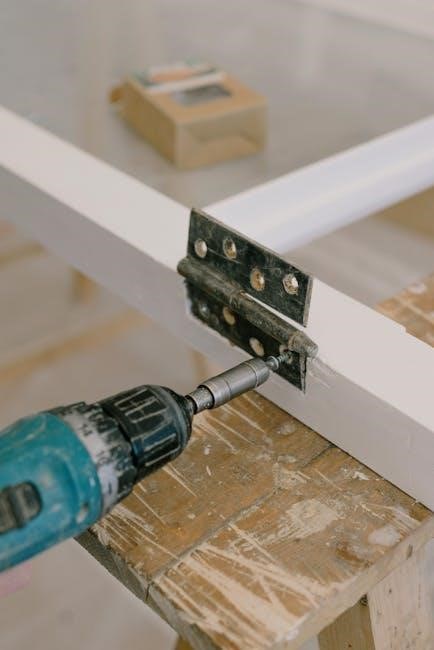
To install the Honeywell TH4210U2002 thermostat, gather the required tools and materials to ensure a smooth process. A screwdriver (both flathead and Phillips) is essential for removing the old thermostat and securing the new one. Additionally, a voltage tester is recommended to verify that the power is off before handling any wiring. Wire strippers may be needed if the existing wires require adjustment. Mounting hardware, such as screws and anchors, is typically provided with the thermostat but should be checked for completeness. A level will help ensure the thermostat is properly aligned during installation. Fresh AA alkaline batteries are also necessary to power the thermostat. Having these tools and materials ready will streamline the installation process and minimize delays. Proper preparation ensures a safe and efficient setup of your new thermostat.

Installation Steps
Begin by turning off the power at the breaker box. Separate the Junction Box Adapter from the Cover Plate and mount the thermostat level on the wall. Connect the wires carefully, following the wiring diagram. Secure the thermostat with screws, ensuring all connections are tight. Turn the power back on and test the system to confirm proper operation. Replace the Cover Plate and insert fresh AA batteries to complete the installation process.
4.1. Pre-Installation Checklist
Before starting the installation, ensure the following steps are completed to guarantee a smooth process. First, verify compatibility of the Honeywell TH4210U2002 with your HVAC system. Turn off the power to the heating and cooling system at the breaker box to avoid any electrical hazards. Gather all necessary tools, including a screwdriver, wire strippers, and mounting screws. Check that the furnace door is closed securely to prevent any safety issues during installation. Ensure fresh AA alkaline batteries are installed in the thermostat for proper functionality. Review the wiring diagram provided in the manual to understand the connections required. Finally, make sure the wall where the thermostat will be mounted is level and clear of any obstructions. Completing these steps will ensure the installation process is safe and efficient.
4.2. Mounting the Thermostat
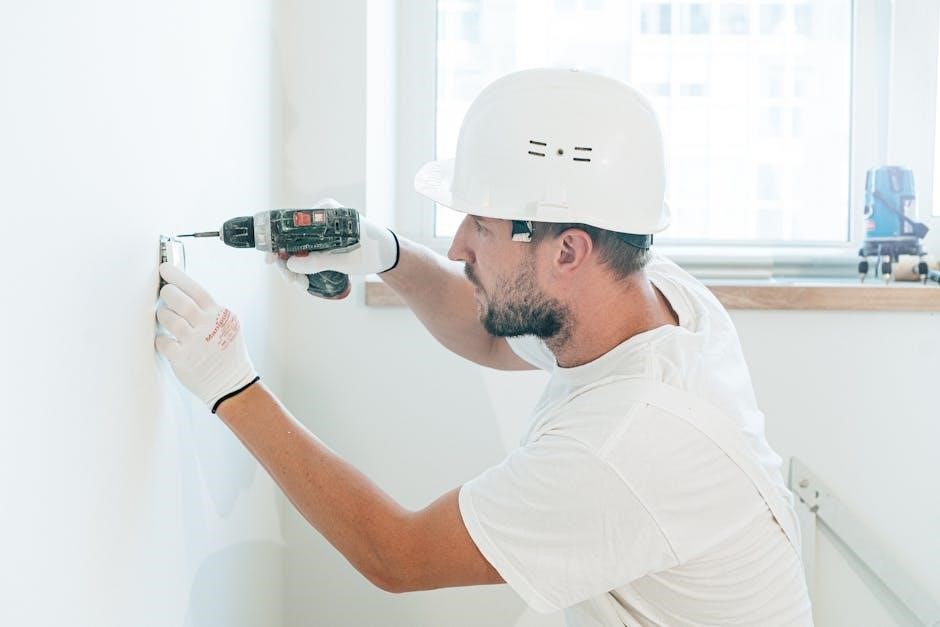
Mounting the Honeywell TH4210U2002 thermostat begins with ensuring the power to your HVAC system is turned off at the breaker box for safety. Separate the Junction Box Adapter from the Cover Plate, as shown in the manual. Use the provided wall plate as a template to mark the screw holes on the wall. Drill pilot holes if necessary and screw the Junction Box Adapter into place. Once securely mounted, attach the thermostat to the adapter by aligning the tabs and gently snapping it into position. Ensure the thermostat is level and firmly attached to the wall. If using the optional cover plate, install it according to the instructions provided. Proper mounting ensures reliable performance and a professional finish.
4.3. Wiring Diagrams and Connections
Refer to the provided wiring diagrams in the Honeywell TH4210U2002 manual to ensure proper connections. Verify the HVAC system’s wiring configuration matches the thermostat’s terminal labels (e.g., R, W, Y, G, C). Turn off the power at the breaker before starting. Remove the old thermostat and carefully label each wire with the corresponding terminal. Mount the new thermostat and connect the wires to the correct terminals, double-checking for accuracy. Ensure the C (common) wire is connected if required by your system. If no C wire is present, use the optional add-a-wire accessory. Secure all connections firmly to avoid loose wires, which can cause malfunctions. After wiring, restore power and test the system to ensure proper operation. Always follow safety guidelines and consult a professional if unsure about any step. Proper wiring ensures reliable performance and safe operation of your thermostat.
4.4. Final Installation Checks
After completing the installation, perform a thorough check to ensure everything functions correctly. Turn the power back on at the breaker and verify the thermostat’s display lights up. Test the heating and cooling systems to confirm they respond to temperature adjustments. Check all wire connections for security and ensure no loose ends remain. Verify the thermostat is properly mounted and level for accurate temperature readings. Program a simple schedule to test advanced features and confirm they operate as expected. Review the manual for troubleshooting common issues like unresponsive systems or incorrect wiring. Ensure all steps were followed accurately for safe and efficient operation. Proper final checks guarantee reliable performance and prevent future malfunctions. Always refer to the user manual for specific guidance if any issues arise during testing.
Configuration and Setup
Configure the Honeywell TH4210U2002 by accessing the installer setup menu. Program schedules, adjust temperature settings, and customize advanced features for optimal performance and energy efficiency.
5.1. Initial Configuration Steps
Begin by ensuring the thermostat is powered on and the HVAC system is connected. Access the menu by pressing and holding the “Menu” and “Select” buttons for 5 seconds. Navigate to the System Setup (ISU) menu to configure basic settings such as heating/cooling mode, temperature range, and system type. Set the correct date and time for accurate scheduling. Ensure fresh AA alkaline batteries are installed if the thermostat is battery-powered. Verify all connections are secure and the furnace door is closed. These initial steps ensure proper functionality and prepare the thermostat for advanced programming.
5.2. Scheduling and Programming Options
The Honeywell TH4210U2002 allows for flexible scheduling with up to seven-day programming. Users can set specific temperatures for different times of the day, optimizing comfort and energy savings. The thermostat features four preset time periods: Wake, Leave, Return, and Sleep; Program each period to maintain desired temperatures during these intervals. Additionally, the thermostat offers manual overrides for temporary adjustments. For convenience, it supports both heating and cooling schedules, ensuring consistent comfort throughout the year. The on-screen menu guides users through the programming process, making it intuitive to customize settings. These features empower homeowners to tailor their temperature preferences efficiently, balancing comfort with energy efficiency.
5.3. Advanced Settings and Customization
Beyond basic programming, the Honeywell TH4210U2002 offers advanced settings for tailored control. Users can adjust temperature swing ranges to minimize frequent HVAC cycles, enhancing system efficiency. The thermostat also features adaptive recovery, which learns the time needed to reach desired temperatures, ensuring consistent comfort at scheduled times. Additionally, the system allows customization of fan operation, including automatic or manual modes. For precise temperature control, the differential temperature setting can be fine-tuned to maintain ideal conditions. These advanced options provide users with greater flexibility and control over their home environment, enabling them to optimize both comfort and energy usage according to their specific needs.

Troubleshooting and Maintenance

Regular maintenance ensures optimal performance. Clean the thermostat’s display and sensors, and replace batteries annually. For issues, check error codes or consult the user manual for solutions.
6.1. Common Issues and Solutions
Common issues with the Honeywell TH4210U2002 thermostat include unresponsiveness, incorrect temperature readings, or display malfunctions. Solutions often involve resetting the device by removing batteries or checking wiring connections. Ensure the HVAC system’s power switch is on and the furnace door is securely closed. For display issues, clean the screen gently with a soft cloth. If the thermostat fails to respond, verify proper battery installation and replace if necessary. Consult the user manual for error codes and troubleshooting steps. Regular maintenance, such as cleaning sensors and updating settings, can prevent many issues. For persistent problems, contact Honeywell support or refer to the installation guide for advanced solutions.
6.2. Routine Maintenance Tips
To ensure optimal performance of the Honeywell TH4210U2002 thermostat, regular maintenance is essential. Clean the display screen with a soft cloth to avoid dust buildup. Check and replace AA alkaline batteries annually or when low-battery alerts appear. Inspect wiring connections for looseness or damage, and secure them as needed. Update the thermostat software periodically to access new features and improvements. Clean the sensors gently with a dry cloth to maintain accuracy. Verify that the HVAC system’s power switch is on and the furnace door is closed properly. Schedule annual professional HVAC system maintenance to ensure compatibility and efficiency. Refer to the user manual for detailed guidance on maintenance procedures and troubleshooting.